Healthy Life Odyssey
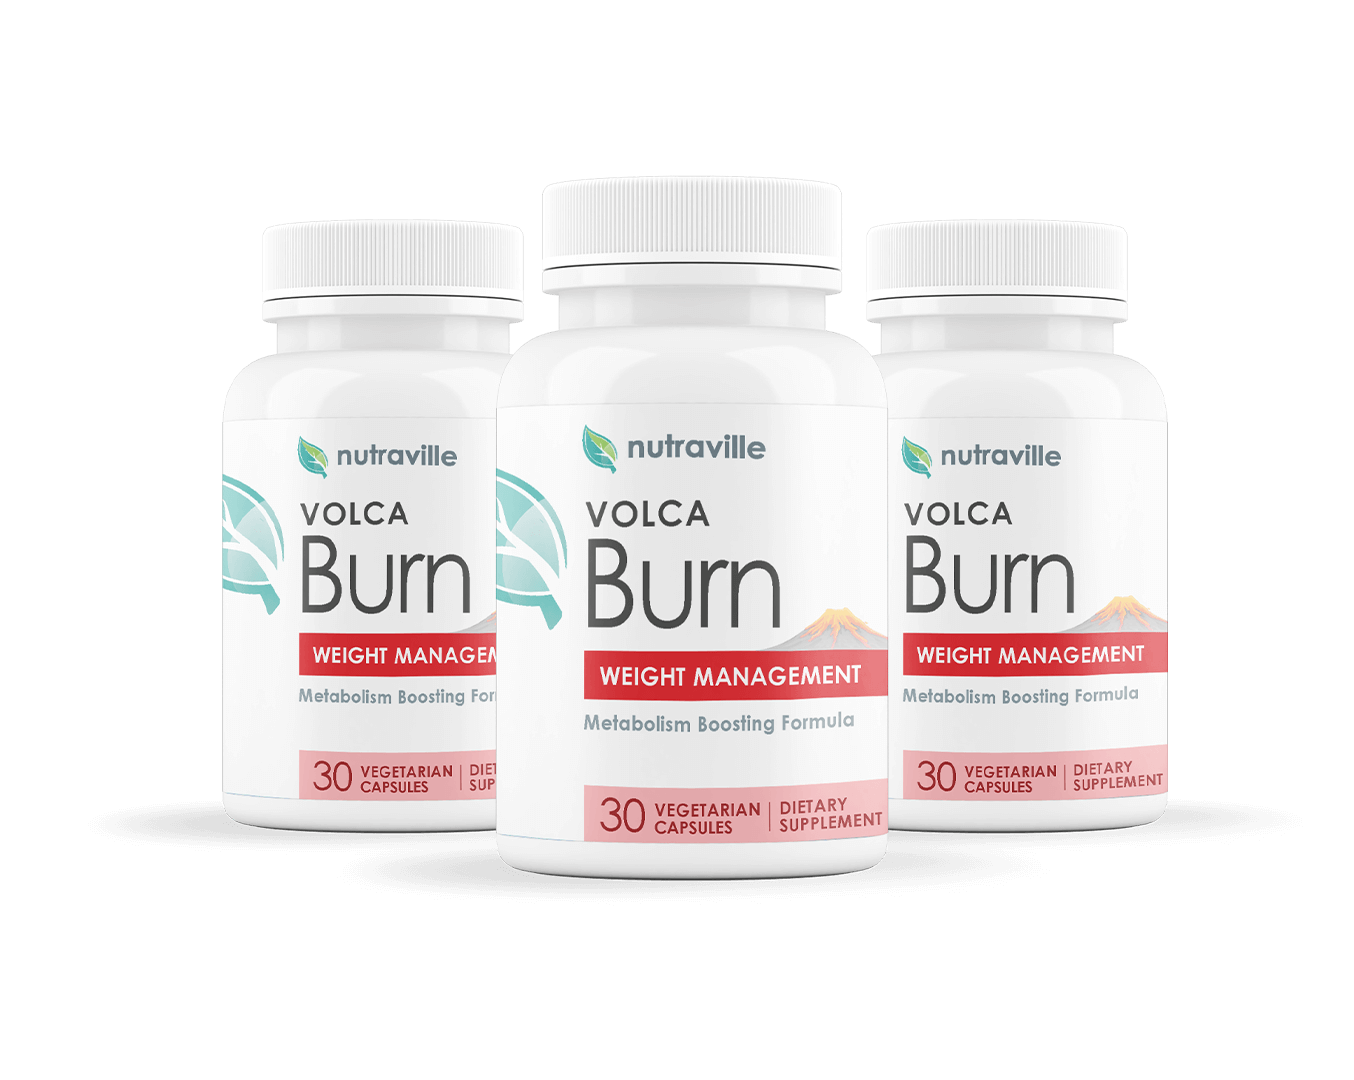
VolcaBurn – Red Hot Weight Loss
Buy Now
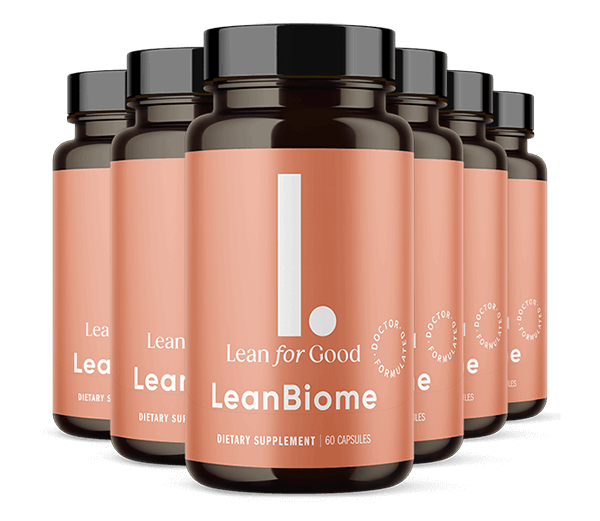
LeanBiome
Buy Now
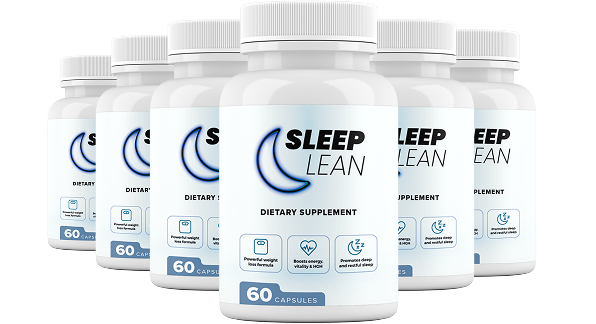
SleepLean
Buy Now
MITOLYN
Buy Now
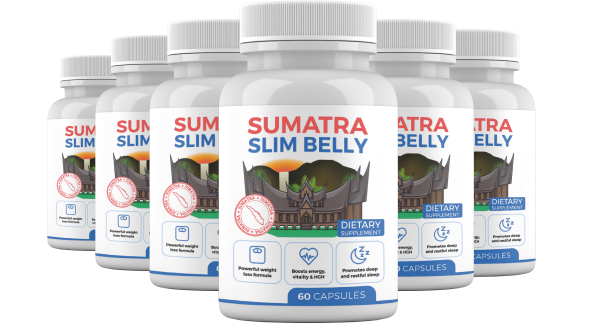
Sumatra Slim Belly Tonic
Buy Now
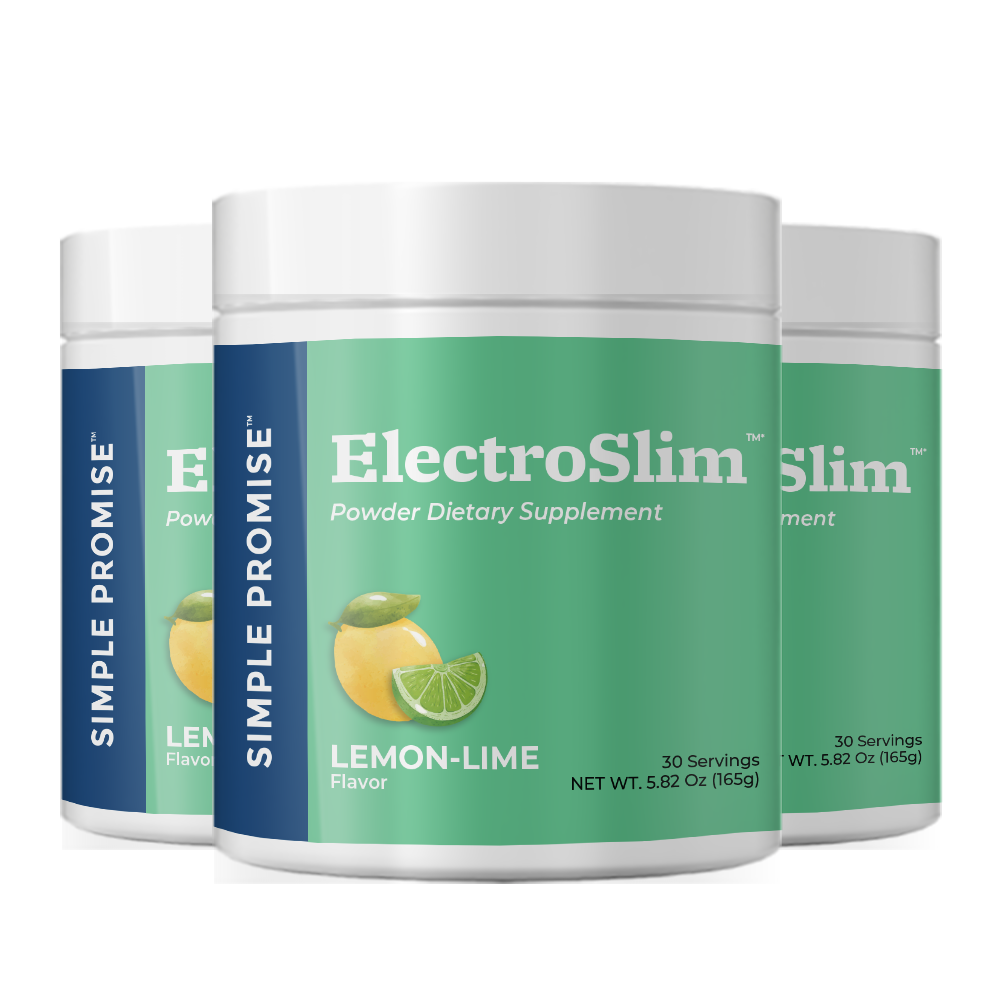
ElectroSlim
Buy Now
The Smoothie Diet
Buy Now
ZenCortex
Buy Now
The Brain Song
Buy Now
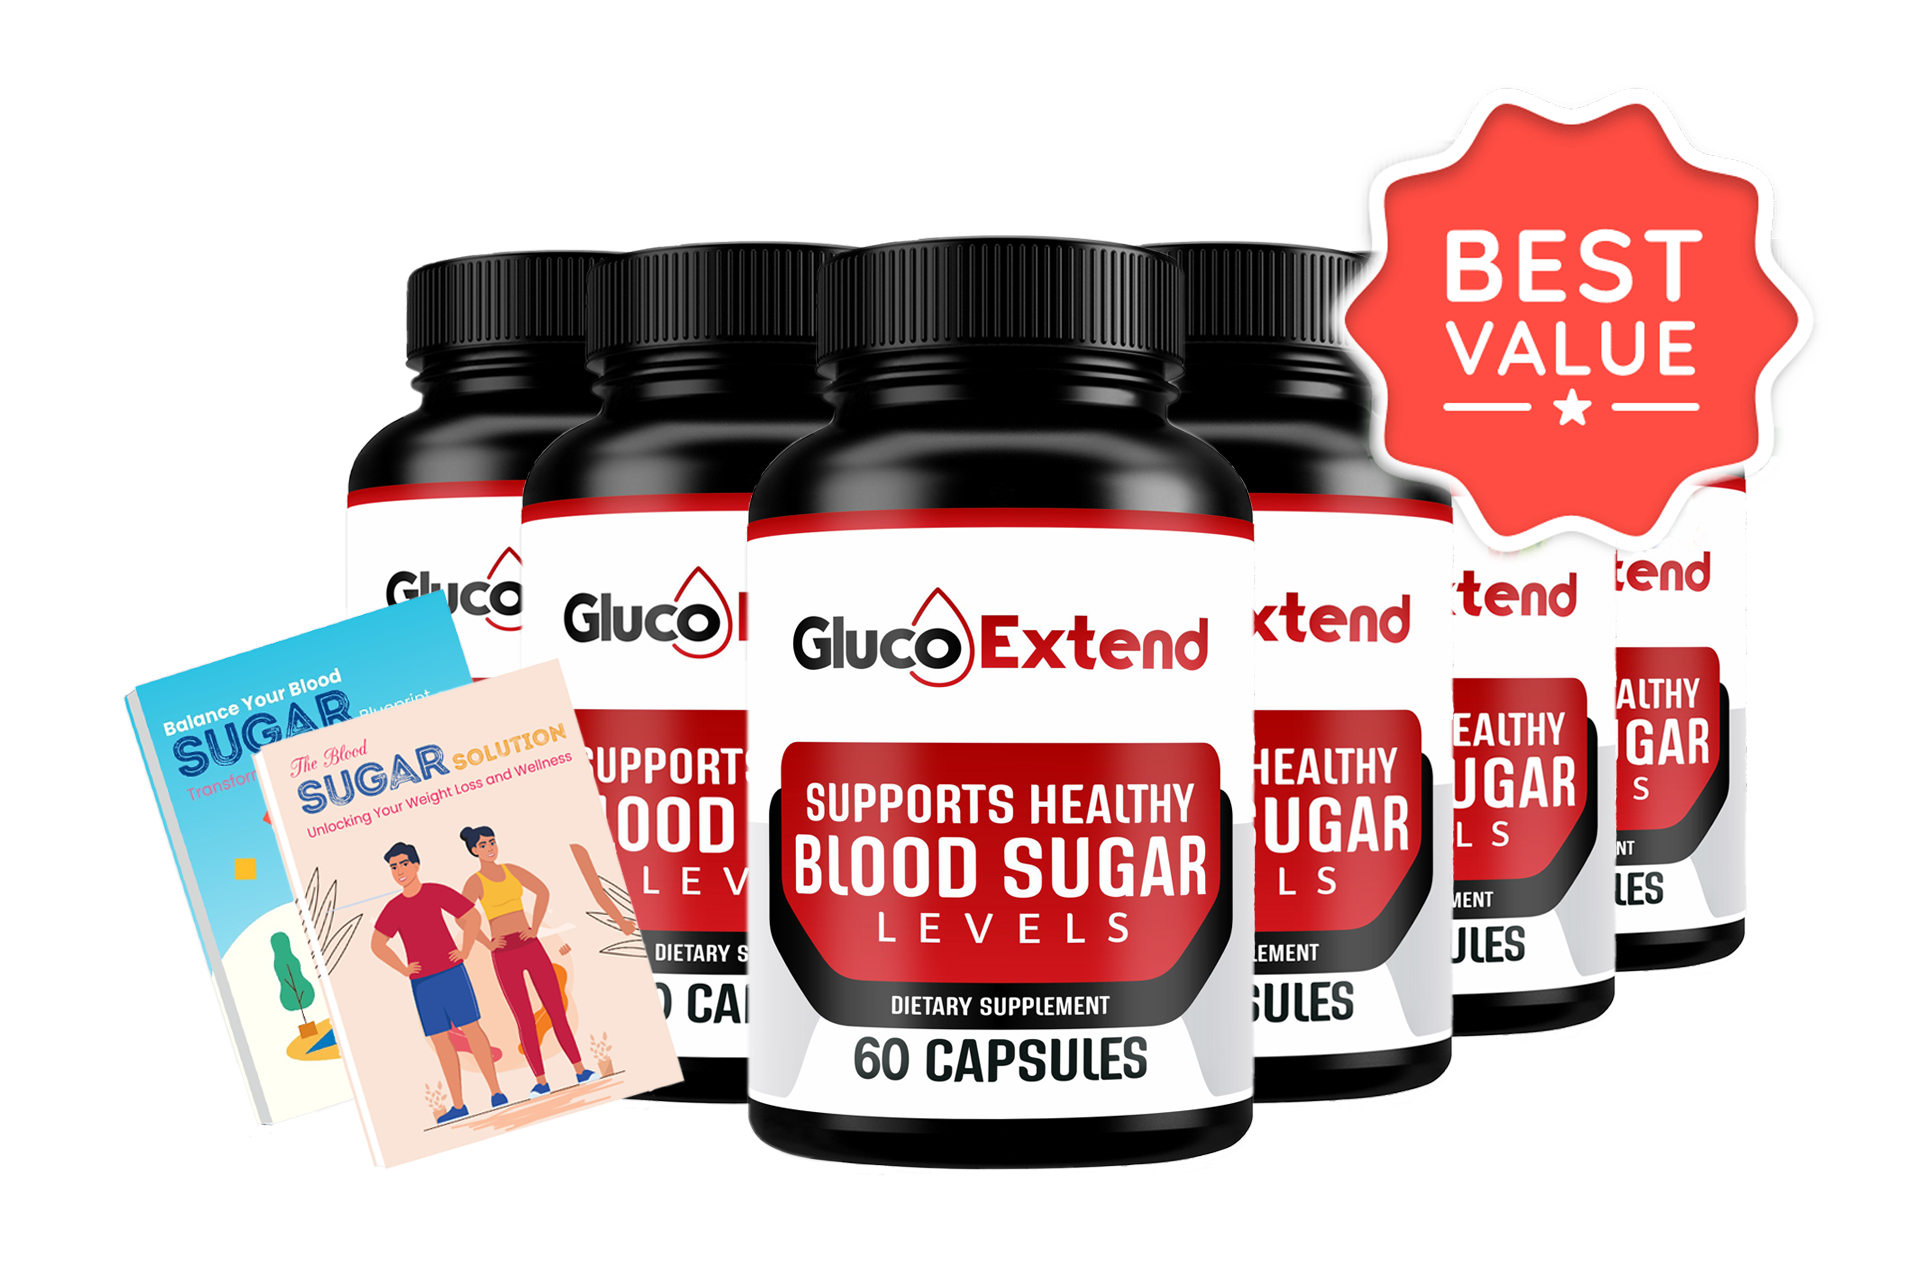
Gluco Extend
Buy Now